
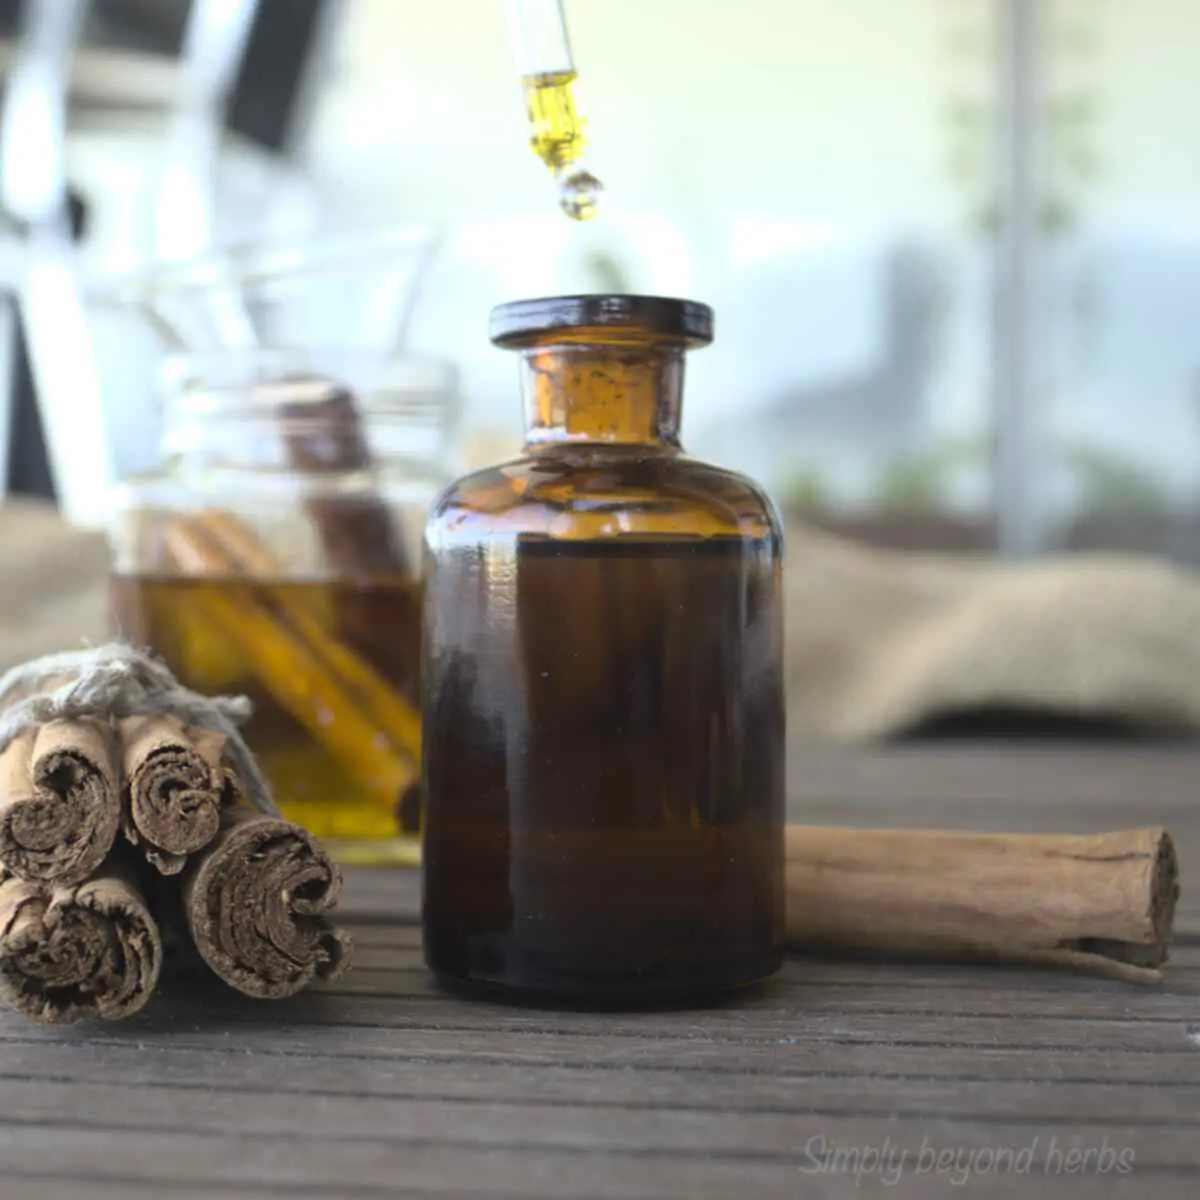
This pear wine recipe makes a light, refreshing wine that adds a unique flair to your wine cellar. It is also an easy way to preserve and enjoy the flavor of ripe pears all year long.
I must admit that I am not an experienced winemaker, and I embarked on this winemaking adventure by accident. This pear wine was more of an experiment than a sure thing. I received several kilos of ripe pears from my friend, who has a large orchard. First, I grilled them, turned them into cake and butter, and then the idea of making wine popped up. I had pleasantly surprised my family with kiwi and rosehip wine within, so I thought, why not try it again?

What is Pear Wine?
Pear wine is a fermented alcoholic beverage made from ripe pears through winemaking. Alternatively, you can use nonpasteurized pear juice. In this simple method, yeast converts the sugar in sweet pears into alcohol that carries the pears’ flavors. it works great, especially if you have an abundance of ripe pears and a curiosity for winemaking.
Fancy quince wine?
How does pear wine taste?
Pear wine has a gentle and fruity pear flavor. Pear wine is one of the most refreshing yet sweet wines. It smells like ripe pears with hints of flowers or honey. Depending on the variety of pears and their ripeness, it can sometimes be slightly sour or tangy.

Ingredients to make one gallon of fruit Wine
Pears
Pears are relatively affordable and available throughout the year. Depending on your location, you can find different varieties of pears, ranging in color, texture, and flavor. When making pear wine, selecting ripe enough pears that are firm and can be slightly overripened is essential. To achieve a flavorful pear wine, gather the pears at their ideal stage of maturity before they become mushy. One approach is to purchase unripe pears and allow them to ripen at home, ensuring you can control their level of maturity for winemaking purposes.
If you decide to keep the peel on, use organic to avoid any chemicals in your wine.
Overly ripe or decaying pears can easily spoil the whole batch.
Love homemade drinks? You’ll enjoy these easy fermented recipes too:


Sugar
If you use coarse or unrefined brown sugar, you may want to dissolve it in boiling water before adding it to the fruits.
Regular, refined sugar dissolves easily.
Lemon juice
Yeast
Wine yeast is a great contributor to the finished wine. Thus it is imperative to choose one with moderate alcohol tolerance that only adds light flavors to the final products, such as champagne yeast.
Follow the instructions on the packet, but a single packet is usually enough for 1 gallons of wine.

The pectic enzyme (optional)
The pectic enzyme helps break down pectin, which contributes to haziness. Pears are fruits high in pectin, so I recommend using it if you want your wine to be clear
Yeast nutrient (optional)
It is recommended if the juice lacks essential nutrients for yeast to ferment. Pear juice may not always provide sufficient levels of nitrogen, vitamins, minerals, and other nutrients necessary for yeast growth and fermentation.
Wine Tannin powder (optional)
Campden tablets for sterilization (optional )

Equipment you need to make wine.
Two gallon bucket wide mouth or fermentation vessels for primary fermentation
1 gallon glass Carboy – a fermentation vessel for the secondary fermentation with a narrow neck to hold the wine during the process. This usually comes together with a rubber stopper and water lock, which is a one-way valve that allows CO2 from the fermentation out but prevents anything from coming in to contaminate your wine.
Winemaking – fermenting pear wine at home
During fermentation, yeast converts sugars in the pear juice into alcohol. Most fruits contain sugars and yeasts, so as pears. Yeast needs sugar to grow and multiply. Thus, sweeter fruits provide an ideal environment for yeast to grow. Carbon dioxide bubbles are released into the air or trapped within the liquid as the yeast consumes the sugars. This process of making wine releases energy, producing alcohol as a byproduct. The duration of fermentation may vary but takes several weeks.
How to Make Pear Wine
First step – Sanitizing all equipment.
Sanitize all equipment. One option is to use Campden tablets; however, you can use soapy water to avoid chemicals. First, thoroughly wash and rinse all tools and equipment with pre-boiled water, then allow them to dry. If you opt for Campden tablets, add one tablet per gallon of wine and allow 24 to 36 hours for sterilization before proceeding with your recipe.
Second step – make sweet water.
Pour 12 cups of water into a casserole and bring it to a simmer. Add sugar to the mixture so it dissolves while stirring. Set aside to cool to lukewarm.
Third step – Prepare pears.
If you use organic pears, there is no need to peel them off as the peel contains flavors and pectin that help to enhance the overall character and body of the pear wine.
Just core and chop the pears into small pieces, discarding any spoiled parts. Place them in the vessel with sweet water. You can keep it in the casserole or transfer it to any other

Fourth step – Combine all ingredients for primary fermentation.
Add the sugar water, chopped pears, lemon juice, yeast nutrient, and tannin powder (if you use it) into the fermentation vessel. Ensure the mixture is at room temperature. Otherwise, the yeast won’t survive. Follow the instructions on your packet of yeast. Mine involves dissolving the packet in a small amount of water (room temperature). Wait for 10 minutes to allow the yeast to rehydrate before adding it to the mixture. Cover the vessel but not tightly as the yeast must work and CO2 escape. Let it ferment for 7 days.


Fifth step – Transfer the mixture to your secondary fermentation vessel.
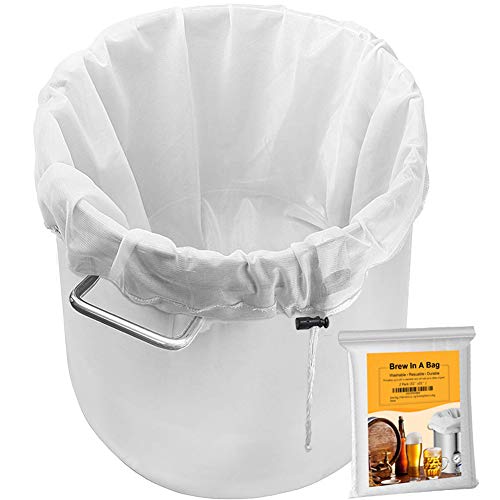
After one week, mash the pears with a potato masher against the side of the crock to extract as much juice as possible. I recommend using a brew bag to transfer the liquid to your fermentation container, leaving the sediment and fruit pulp behind. Make it as fast as possible to avoid excessive exposure to oxygen during the process.

Place the lid and airlock on the fermenter, leaving enough space for the bubbles that will form. Next, find a cool and dark spot, like a cellar, and allow the wine to ferment. In the first few days, you’ll see a lot of foam and bubbles as it ferments vigorously. After about 10-15 days, the fermentation will start to calm down, but this may vary depending on the temperature. Let the mixture ferment for at least 4 weeks before trying it.
Sixth step – Strain and bottle it.
To clear the wine, strain the liquid using a brew or straining bag that leaves the sediment behind at the bottom. Taste the wine. If it tastes too acidic, add simple syrup to sweeten it (optional) and let it settle for a few days. If you’re satisfied with the taste, transfer the wine to a clean jar or demijohn, label it, and let it age for several weeks before enjoying it. Remember, the longer you wait, the better it will taste.

Seventh step – Bottle the wine.
Once your pear wine is fermented, it’s time to bottle it. Prepare your sanitized bottles and position a clean carboy or container above them. Use a siphon to carefully rack the wine from the carboy to the bottles, avoiding disturbing the sediment at the bottom of the carboy. Store the wine in a dry, cool place for 35 to 45 days to allow further stabilization.

Pear Wine Recipe Variations.
- Add spices such as cinnamon sticks, cloves, or star anise to the fermentation vessel along with the pears. You can also use it to make a Pear Cider.
- Incorporate freshly grated ginger during the fermentation process to add a subtle and refreshing kick to the pear wine.
- Split a vanilla bean and add it to the fermentation vessel. The vanilla will infuse the wine with a rich and creamy flavor, enhancing the overall taste and aroma.
- After primary fermentation, transfer the wine to an oak barrel or use oak chips/essence for aging. The oak imparts complexity and adds subtle notes of vanilla and spice to the final product.
Tips and tricks.
- Select pears that are fully ripe and aromatic for the best flavor in your wine. Pears can vary in their natural sweetness and acidity levels. Taste the pear juice before fermentation and adjust the sugar levels accordingly to achieve a balanced flavor profile in your wine.
- Maintain a consistent temperature within the ideal range for your yeast. Too high temperatures can produce off-flavors, while too low temperatures can result in sluggish fermentation. Use a thermometer to monitor the temperature during fermentation.
- Pear wine benefits from aging to develop its flavors and smoothness. Consider aging it for several months in a cool and dark place to allow the wine to mellow and improve in taste.
- Feel free to experiment with different flavors by adding spices, fruits, or oak during fermentation or aging. This can add complexity and unique notes to your pear wine.

Pear wine recipe from ripe pears

This pear wine recipe makes a light, refreshing wine that adds a unique flair to your wine cellar. It is also an easy way to preserve and enjoy the flavor of ripe pears all year long.
Ingredients
- 5 lbs of ripe pears (no moldy ones) 2.5 kg
- 3.3 lbs sugar (1.5 kg )
- 12 cups of filtered water (chlorine-free) (3 l)
- 1/2 cup lemon Juice (from two lemons)
- 1 packet champagne yeast
- 1/2 teaspoon tannin powder (optional)
- 1 teaspoon yeast nutrient (optional)
- 1 teaspoon pectic enzyme (optiona)
Instructions
- Sanitize all equipment. One option is to use Campden tablets; however, you can use soapy water to avoid chemicals. First, thoroughly wash and rinse all tools and equipment with pre-boiled water, then allow them to dry. If you opt for Campden tablets, add one tablet per gallon of wine and allow 24 to 36 hours for sterilization before proceeding with your recipe.
- Pour 12 cups of water into a casserole and bring it to a simmer. Add sugar to the mixture so it dissolves while stirring. Set aside to cool to lukewarm.
- If you use organic pears, there is no need to peel them off as the peel contains flavors and pectin that help to enhance the overall character and body of the pear wine. Just core and chop the pears into small pieces, discarding any spoiled parts. Place them in the vessel with sweet water. You can keep it in the casserole or transfer it to any other
- Add the sugar water, chopped pears, lemon juice, yeast nutrient, and tannin powder (if you use it) into the fermentation vessel. Ensure the mixture is at room temperature. Otherwise, the yeast won't survive. Follow the instructions on your packet of yeast. Mine involves dissolving the packet in a small amount of water (room temperature). Wait for 10 minutes to allow the yeast to rehydrate before adding it to the mixture. Cover the vessel but not tightly as the yeast must work and CO2 escape. Let it ferment for 7 days.
- To clear the wine, strain the liquid using a brew or straining bag that leaves the sediment behind at the bottom. Taste the wine. If it tastes too acidic, add simple syrup to sweeten it (optional) and let it settle for a few days. If you're satisfied with the taste, transfer the wine to a clean jar or demijohn, label it, and let it age for several weeks before enjoying it. Remember, the longer you wait, the better it will taste.
- Once your pear wine is fermented, it's time to bottle it. Prepare your sanitized bottles and position a clean carboy or container above them. Use a siphon to carefully rack the wine from the carboy to the bottles, avoiding disturbing the sediment at the bottom of the carboy. Store the wine in a dry, cool place for 35 to 45 days to allow further stabilization.
Recommended Products
As an Amazon Associate and member of other affiliate programs, I earn from qualifying purchases.
-
 FastRack - One Gal Wide Mouth Jar with Lid and Airlock & Fermtech Auto-Siphon Mini with 6 Feet of Tubing and Clamp
 -
Winemaking.net Wine Making Starter Equipment Kit Strange Brew Strange Brew Complete Winemaking Starter Kit with 6 gal Glass Carboy
-
Funnels (6 in 1),PEMOTech Large Stainless Steel Funnel Set 3 Pack (4.1Inch/ 5.0 Inch/ 5.7 Inch) with 2 Pack Removable Strainer for Transferring Liquid, Fluid and Dry Ingredients,Bonus A Cleaning Brush
-
Brew Bag, 2 Pack Extra Large (31" x 31") Straining Bag,Reusable Cold Brew Bags Fine Mesh Bag for Fruit Cider Apple Grape Wine Press Drawstring Straining Brew in a Bag
-
Chef’s Star 16 Oz Empty Beer Bottles, Swing Top Glass Bottles, Flip Top Glass Bottle with Caps, Fermentation Home Brewing Kombucha Beer and Coquito, with Brush and Funnel, Amber, Set of 6


Nutrition Information:
Yield:
40Serving Size:
1Amount Per Serving: Calories: 149Total Fat: 0gSaturated Fat: 0gTrans Fat: 0gUnsaturated Fat: 0gCholesterol: 0mgSodium: 4mgCarbohydrates: 38gFiber: 0gSugar: 37gProtein: 0g
Fermented Drinks & Herbal Wines

This rich Herbal fire-cider packed with antioxidants, minerals and vitamin C is an alcohol-free way to boost your immune system with nutrient-rich herbs, fruits and roots and warm up your body.
Join me in an adventure to turn rose-scented rosehips into fragrant wine. It’s a delicious way to use and preserve rose hips for year-round enjoyment.
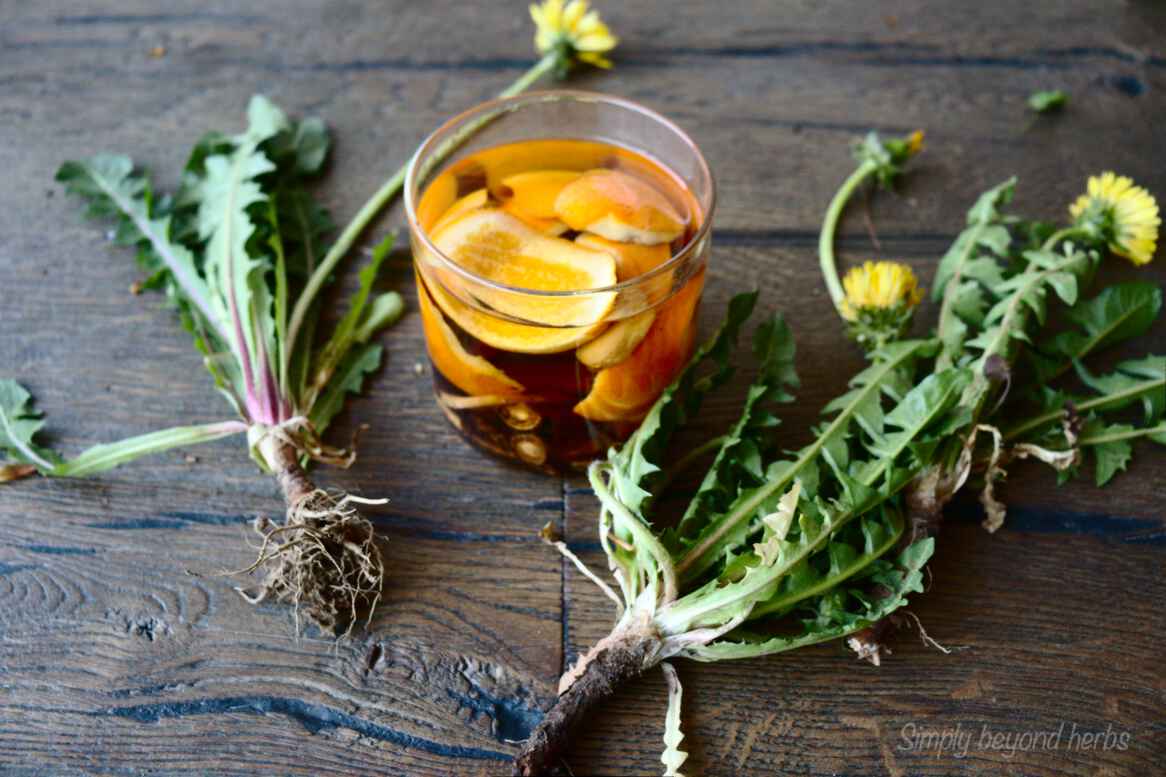
Dandelion bitter stimulates the digestive system, helps to lower your level of blood sugar and has a positive effect on stress. From mild digestions to heartburn, bitters increase digestibility and help you calm an upset stomach.

This floral and fruity elderflower cider makes it a uniquely refreshing drink. In addition, it is a creative way of preserving apples.
Homemade kiwi wine is far from the sweet fruit-based wines you buy in the liquor store. This fruity wine is a crisp yellow wine full of tropical flavor with a touch of tart berries. It is a vibrant beverage that adds a unique flair to your wine cellar.

Pine Needle Soda is a fizzy soda made with 3 ingredients. Also called pine needle Sprite, this soda recipe is a foraged and fermented drink with a distinct citrusy pine needle taste.

Learn the traditional way of herbal infusion by macerating the primrose flowers in wine. This simple extraction method will allow you to enjoy a delicious and flowery taste of primrose wine as well as its medicinal benefits.
This pear wine recipe makes a light, refreshing wine that adds a unique flair to your wine cellar. It is also an easy way to preserve and enjoy the flavor of ripe pears all year long.

These fermented cherry tomatoes can be an easy way to preserve and pack tomatoes with probiotics that burst in your mouth with refreshing flavors.

These fermented bananas are sweet with a subtle tang. Packed with probiotics, they are an easy way to sneak beneficial bacteria into your smoothies or banana bread.

These fermented apples are sweet and slightly tangy. They are probiotics-rich and the perfect way to sneak probiotics into smoothies or cakes.


Wow, didn’t realize we could make wine from pears this way – this was delicious! Will be making it again.
I’ve wanted to try making my own pear wine for a while and I’m so excited to have found this recipe! Everything turned out wonderfully – so delicious. Can’t wait to try more of your recipes!
This is the best recipe! I’ve used it several times and I can’t seem to get enough.
We just planted 4 pear trees in the yard so I see a lot of this in my future! Such a tasty alternative to traditional wine.
I’m in the “wait 30 days stage” of my first batch. The taste is delicious. I added mint leaves to the first stage recipe. Can’t wait to bottle up for Christmas gifts.
Hi Kelly,
That sounds wonderful! I’m glad to hear the taste is delicious and that the mint leaves were a great addition. Bottling it up for Christmas gifts is a fantastic idea. Enjoy the process and happy winemaking!
Can you put elderflower cordial in the mix to make pear and elderflower wine.
Hi Annette,
Yes, you can replace the part of the sugar in the recipe with elderflower cordial. This will not only add sweetness but also enhance the floral flavor of the wine. Vladka
Mine is on the go – I can’t see anywhere in the first recipe, the amount of pears you should use. The second one says 5 lbs – so I settled for 4 lbs…. going well so far, will let you know how it turns out
Many thanks
Hi Alan, I used 5 pounds in mine, so your 4 lbs should work well too. I’m excited to hear how it turns out!
This pear wine recipe shows how ripe pears can be transformed into a light, refreshing homemade wine – an elegant way to preserve their flavor year-round.
What are the ratios if you are using fresh pressed pear juice? 🙂
Hi Alaina,
That’s a great question! If you’re using fresh-pressed pear juice instead of chopped pears, skip the added water and use about 1.3–1.5 kg (around 3 lbs) of sugar per 4 liters (1 gallon) of juice. Add about ¼ cup of lemon juice to balance the acidity, plus the same amounts of yeast, nutrient, and pectic enzyme as in the original recipe. You can also include a little tannin (¼–½ teaspoon) for extra body. This keeps the balance of sweetness, alcohol, and flavor just right for a clean-tasting pear wine. Let me know the result, thanks Vladka
Just started this 3 days ago, am I supposed to stir the pairs during initial 7 day stage ?
Hi Lesley,
Yes — you should stir the pears once or twice a day during the initial 7-day primary fermentation stage to keep the fruit submerged and prevent mold or spoilage. It also helps distribute the yeast evenly. Good luck. Vladka