This homemade face serum concentrates on nutritious ingredients that promote collagen production and scar healing and makes your skin glow.
Learn how to make DIY face serum and amend the ingredients for your skin type.
Just like I make recipes from scratch and use all-natural ingredients, I make my own skin and hair care products. Moreover, I use herbs that you can either forage or grow at home thus to live self-sufficiently.
As I get older, the number of skin care products is growing. I make homemade creams, lotions, body butter, DIY deodorant, shampoo, conditioner, and more.

And I wouldn’t say I like to spend a fortune on beauty products, especially when I know how easy it is to make them at home for a fraction of the price. So my latest now is this homemade face serum for every skin type.
What is DIY face serum?
Face serum usually delivers very intensive and concentrated treatment. Consisting of oil-based nutritious ingredients, anti-aging serums typically address a specific skin problem.
This DIY face serum slows the early signs of aging and boosts hydration by forming a barrier to reduce water loss. Moreover, this rosehip facial serum softens the appearance of wrinkles and brightens the skin.

Natural Face serum recipe Ingredients
This homemade serum for face is very easy to make; the secret lies in selecting the right ingredients.
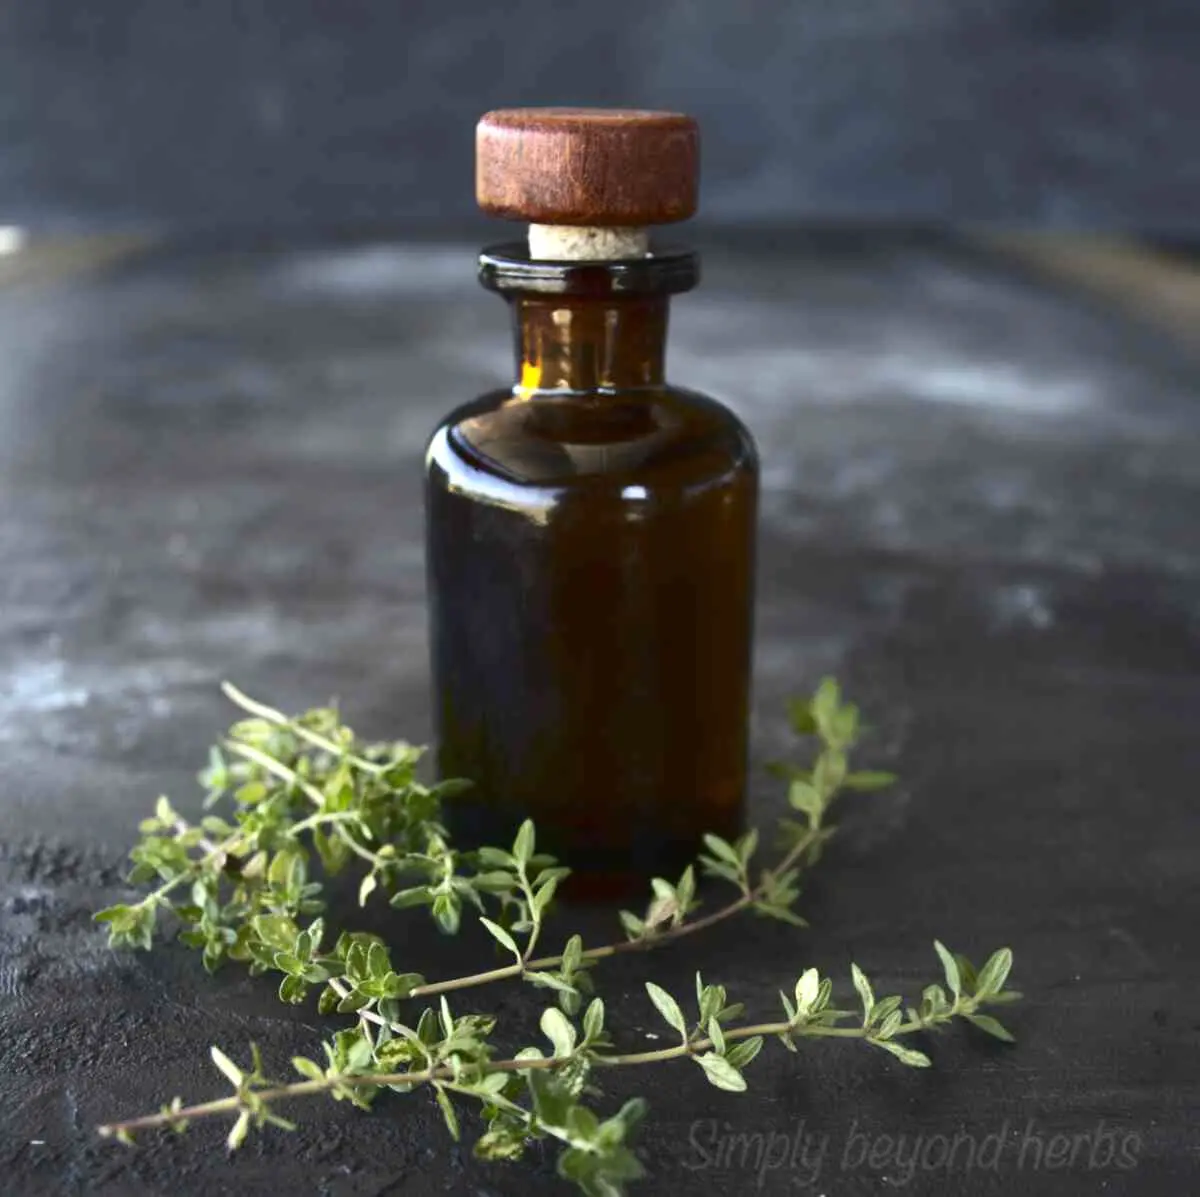
Rosehip seed oil
Often referred to as dry oil, rosehip seed oil does not leave traces as it absorbs relatively quickly and does not leave an oily film on the skin. In addition, its neutral pH encourages easy absorption by the skin Thus is ideal for both morning and evening application. It is also considered one of the best oils for gua sha.
I love to make homemade rosehip oil from fresh or dried rosehips. Making homemade rosehip oil is a beautiful way to use the power of rosehip. Rosehips are the fruit of the rose plant and are packed with nutrients such as vitamin C, vitamin A, and antioxidants that help to hydrate, soothe, and protect your skin. These nutrients make rosehip oil an excellent addition to your homemade face serum.
By slow maceration of rosehips in carrier oil, you will get potent highly-absorbable rosehip oil.

Pumpkin seed oil
The pumpkin seed oil contains tocopherols, linoleic acid, and sterols that support wound healing. In addition, Pumpkin seed oil contains vitamin C that promotes collagen production, and retains the elasticity and firmness of the skin. Pumpkin seed oil finds its place in the best lotions for crepey skin. It also helps to hydrate scars or address discoloration. You can replace the Pumpkin seed oil with jojoba oil or grapeseed oil.
Vitamin E in homemade face serum
Vitamin E is a fat-soluble antioxidant that is an important ingredient in many cosmetic products. It reduces UV-induced skin swelling, skin thickness, erythema, and edema — all signs of skin inflammation. In addition, it protects the skin from free-radical damage.
Best essential oils for different skin types
Make your face serum and use essential oils that best suit your skin type and requirements. This homemade facial serum is suitable for dry or normal skin mature skin.
Select 6-12 drops of essential oils (or a combination):
Frankincense.
Using a serum with Frankincense essential oil is a valuable for aging and dry skin. It is also a natural toner that decreases the appearance of pores and evening skin tone.
Myrrh.
Myrrh is a potent essential oil that works great for chapped skin and wrinkles and protects against aging skin.

Lavender.
Soothing and cleansing lavender oil adds a wonderful scent to your face serum. In addition it helps lighten the appearance of age spots and scars.
Roman chamomile essential oil
Known for its calming and soothing properties, roman chamomile essential oil calms acne-prone and irritated.
Tea tree oil
Make your own natural face serum with Tea tree oil if you skin is oily and acne-prone due to its antibacterial and anti-inflammatory properties.
Depending on your skin type, select the best combination of essential oils.

For oily skin
Use your serum with chamomile and rose essential oil.
For people with dry skin.
myrrh, lavender and frankincense
For sensitive skin
Lavender or frankincense
Anti-aging for fine lines and wrinkles
frankincense, myrrh, rose
Acne-prone skin.
chamomile or tea tree essential oils
Homemade face serum benefits
To lighten hyperpigmentation
Rosehip seed oil contains a high amount (about 50%) of linoleic fatty acid. According to this study, linoleic acid and α-linolenic acid lightens hyperpigmentation induced by UV, discoloration or dark spots caused by sun exposure.
To hydrate the skin
Fatty acids protect the skin from dehydration, helping hydrate the skin. Rosehip oil is excellent for hydrating dry and itchy skin.
speed up healing
This oil helps speed up the healing of burns and wounds. It may also reduce the appearance of stretch marks and scars.
Reduces wrinkles
This clinical research showed that tretinoin possesses anti-wrinkle properties and help to reduce the appearance of wrinkles.
Make DIY face serum
To make homemade rosehip oil, you can use fresh or dried rosehip. If using fresh rosehips, cut them in half to expose the seeds that contain most of the oil.
First step – Place rosehips in a casserole.
Next, place the rosehips in a casserole that can be placed in the oven. Pour over the carrier oil such as jojoba, sweet almond, or olive oil. Make sure the rosehips are completely submerged in the oil.

Second step – Slow maceration in the oven.
Place the casserole with oil in the oven and keep it at the lowest heat possible. The temperature should not exceed 38°C (100°F) for 8 hours. After 8 hours, remove it from the oven and let it settle in a dark place. Strain the oil from the solids through a fine piece of cheesecloth or several layers so the oil has no solid residue.
Skip this step if you decide to purchase ready-made rosehip seed oil.

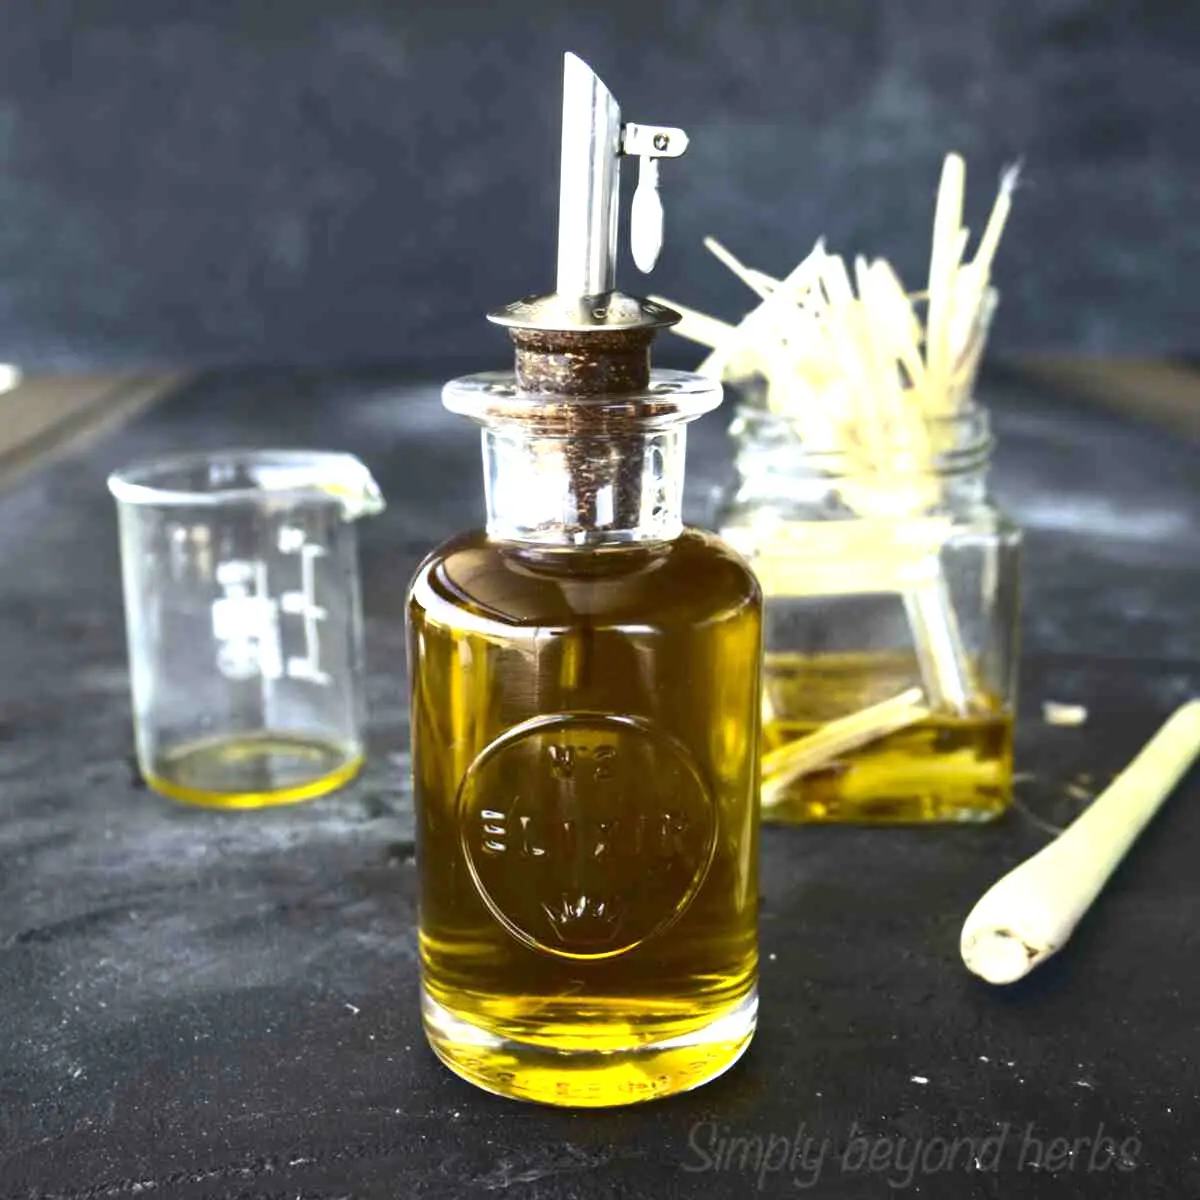
Third step – place all ingredients in a measuring cup
Put rosehip seed oil, pumpkin seed oil, vitamin E, and essential oils into a measuring cup or a jar with a spout.
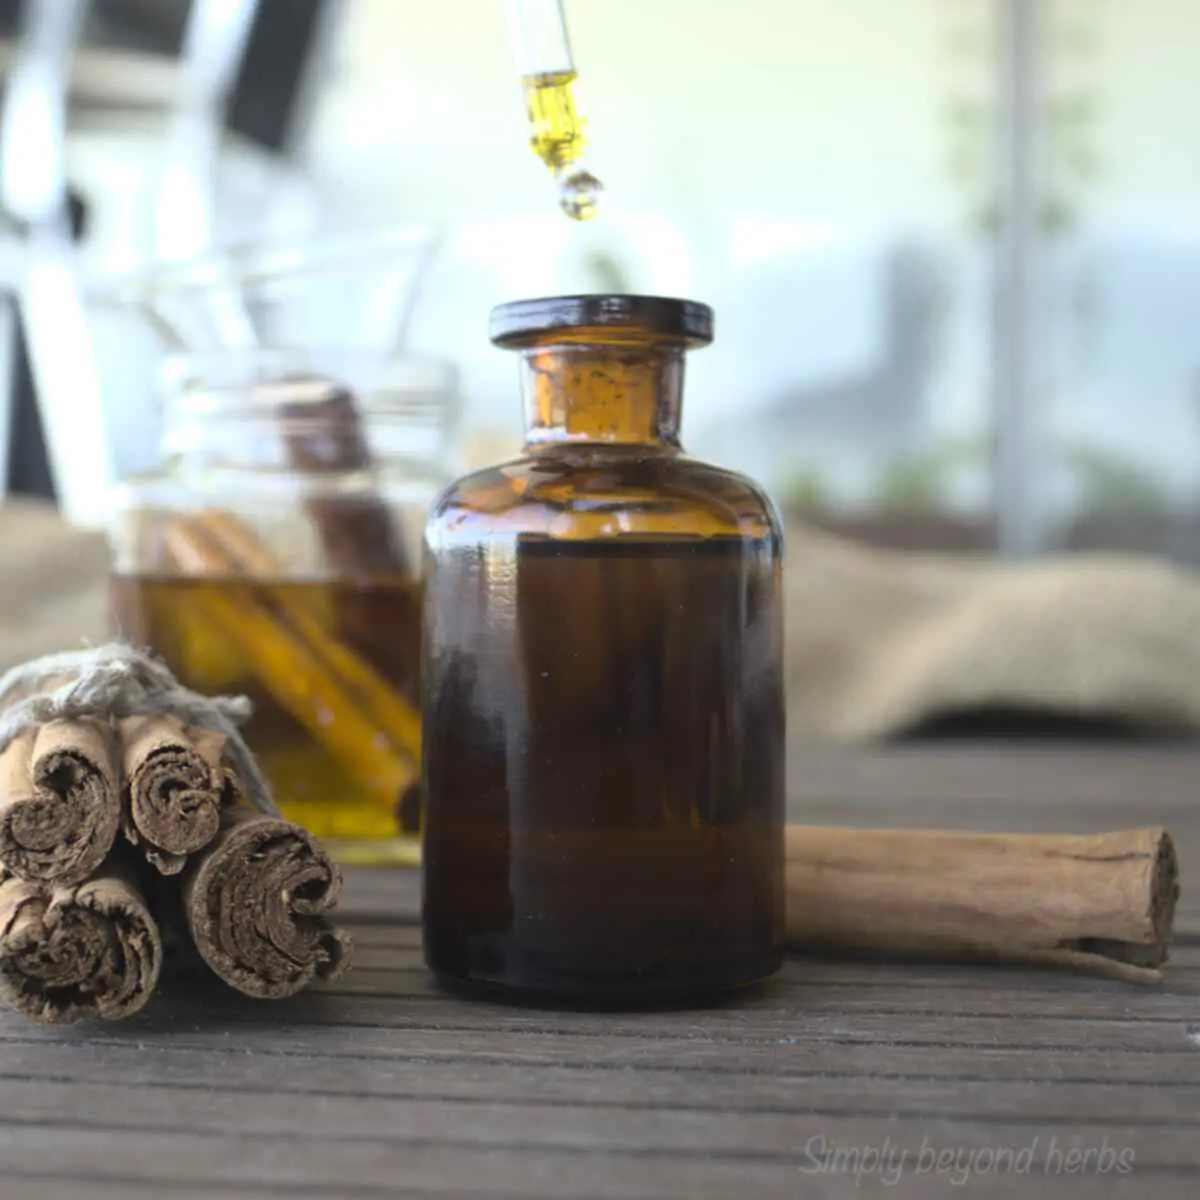
Stir all oils together and transfer the liquid into a sterile, clean dark dropper or dark glass bottle with a pump.
Pro Tip: The dropper bottle makes an easy and mess-free application of the face glow serum at home while keeping it bacteria-free. The dropper also prevents wastage as it helps control how much product you use.

How to apply this DIY face serum with essential oils?
Wash your face and apply this DIY face serum while still damp. Apply one drop of serum each to your forehead, cheeks, chin, and neck and gently massage until fully absorbed. Wait a few minutes for the serum to thoroughly penetrate your skin before continuing your skincare regime. Use a washcloth to blot away any excess oil on your face and neck.
Use face serum twice a day – morning and night before bed.. If your skin is oily, use it as a stand-alone product without another moisturizer. You can apply moisturizer after the face serum if your skin is dry.
How to store this anti-aging serum?
Once you make a DIY face serum store it in the fridge to increase its lifespan. Thus you can enjoy this anti-aging serum every day for up to 1 year.
How long does homemade serum last ?
This DIY homemade face serum will last for one year when stored properly. Store in an airtight glass bottle for best results.

Homemade face serum

This homemade face serum concentrates all nutritious ingredients that promote collagen production and scar healing and makes your skin glow.
Materials
- 10 tablespoons rosehip seed oil
- 10 tablespoons pumpkin seed oil
- 3 drops of vitamin E in the liquid form
- 6 drops of essential oils of your choice
to make rosehip oil
- 1 cup fresh or dried rosehips or ½ cup dried rosehip powder
- 1 cup (250 ml) carrier oil such as almond oil or jojoba oil
Tools
- 1 dark bottle with a dropper
Instructions
- Next, place the rosehips in a casserole that can be placed in the oven. Pour over the carrier oil such as jojoba, sweet almond, or olive oil. Make sure the rosehips are completely submerged in the oil.
- Place the casserole with oil in the oven and keep it at the lowest heat possible. The temperature should not exceed 38°C (100°F) for 8 hours. After 8 hours, remove it from the oven and let it settle in a dark place. Strain the oil from the solids through a fine cheesecloth or several layers, so the oil has no solid residue.
- Put rosehip seed oil, pumpkin seed oil, vitamin E, and essential oils into a measuring cup or a jar with a spout.
- Stir all oils together and transfer the liquid into a sterile, clean dark dropper or dark glass bottle with a pump.
Notes
Note: Skip 1. and 2. step if you use ready-made rosehip seed oil.
Pro Tip: The dropper bottle makes an easy and mess-free application of the face glow serum at home while keeping it bacteria-free. The dropper also prevents wastage as it helps control how much product you use.
Recommended Products
As an Amazon Associate and member of other affiliate programs, I earn from qualifying purchases.
-
 Amber Glass Bottles with Dropper
 -
Mortar and Pestle, Cast Iron
-
Funnels (6 in 1),PEMOTech Large Stainless Steel Funnel Set 3 Pack (4.1Inch/ 5.0 Inch/ 5.7 Inch) with 2 Pack Removable Strainer for Transferring Liquid, Fluid and Dry Ingredients,Bonus A Cleaning Brush
-
SHARDOR Coffee & Spice Grinders Electric, 2 Removable Stainless Steel Bowls for Dry or Wet Grinding, Black