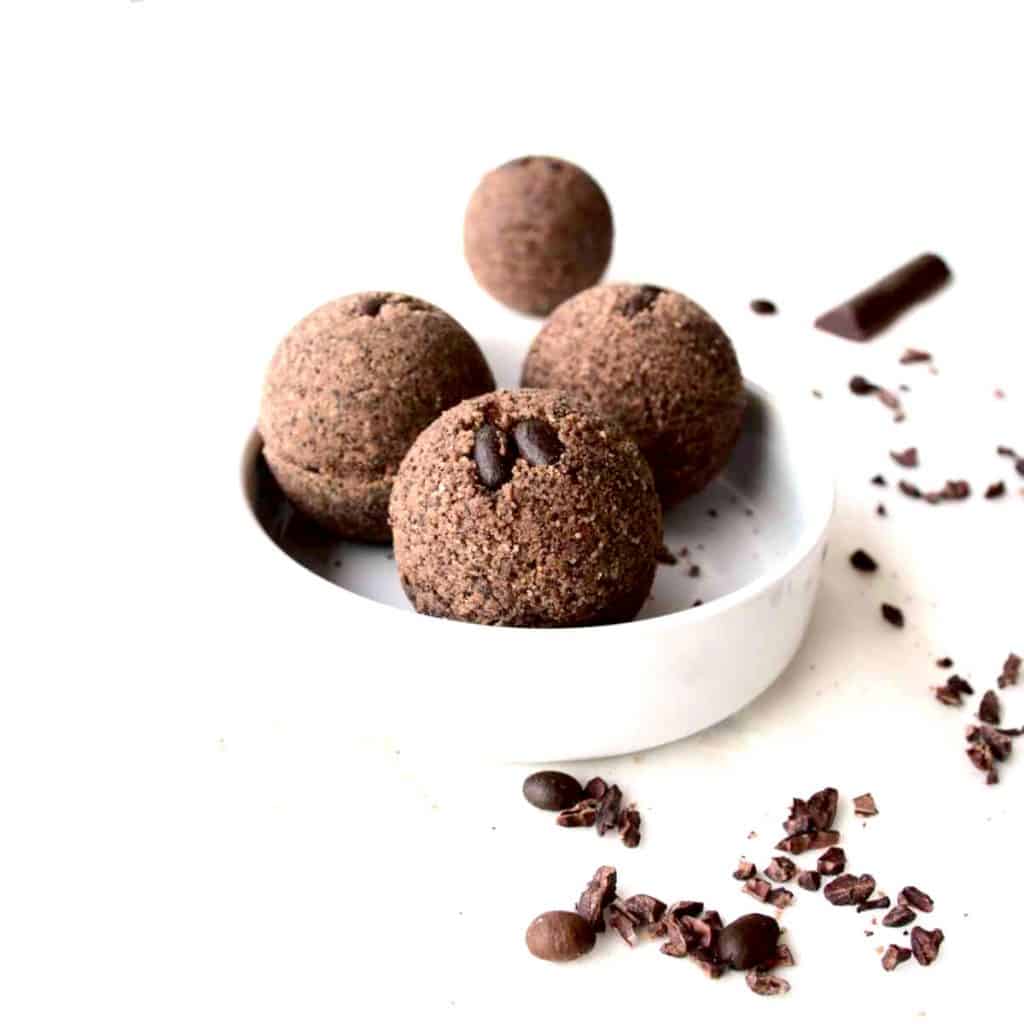
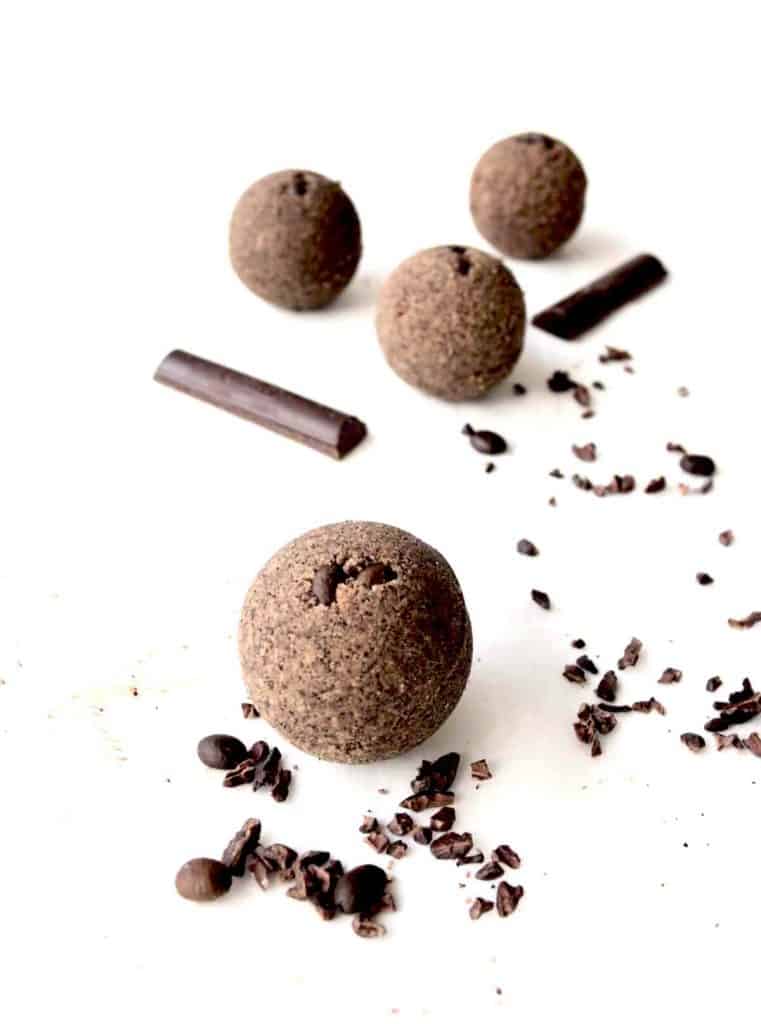
These easy-to-absorb shea butter bath bombs are moisturizing, leaving your skin soft and silky. Made of natural ingredients these bath bombs with shea butter provide nutrients and a relaxing feeling to your body. The chocolate aroma brings a feeling of comfort and warmth.
When you return frozen from a winter walk, place one or two (or three) chocolate bath bombs into the hot water, reach for a nice book, and submerge yourself in a velvet bath. Then wrap yourself in a warm blanket and enjoy the silky smooth skin and a clear peaceful mind.
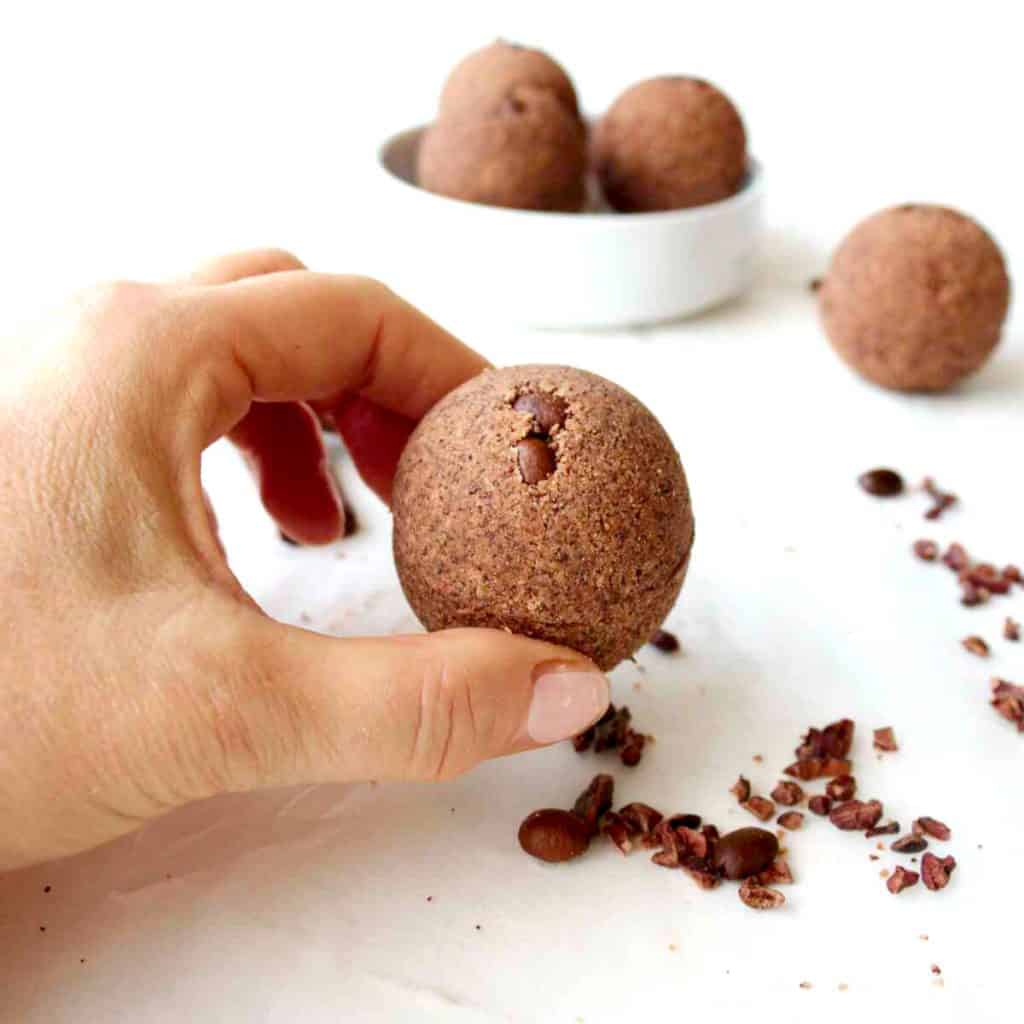
Once you try these shea butter bath bombs you probably won’t want to share them with anybody 🙂 So if you make them as a gift, add a double dose straight away.
What are shea butter bath bombs?
Shea butter bath bombs fall into a category of moisturizing and nourishing bath bombs that people with dry skin will appreciate. If your skin feels dry after a bath adding shea butter to a bath bomb may be a solution.
Once in a hot bath, our skin pores open up and absorb nourishing shea butter leaving the skin smooth and moisturized. Thus no need to apply any body butter afterward.
Ingredients
to make this vegan bath bomb recipe packed with moisturizing properties we used nourishing shea butter.
Shea butter possesses many benefits for the skin and is therefore often used in body butter, creams, or other skincare.
Packed with vitamins, fatty acids, and collagen, shea butter is a go-to butter to prevent aging and wrinkles of matured skin. Extracted from the African shea tree’s nut shea butter has a nutty aroma and yellowish color if purchased unrefined. On the other hand, white-colored shea butter is odorless but has fewer medicinal benefits for the skin.
Shea butter in bath bombs
Shea butter in bath bombs helps to hold the chocolate bath bombs together. When mixing dry ingredients such as citric acid, alkaline baking soda, cornstarch, cocoa, and coffee powder, we also need some oil or butter that holds it together.
Melted shea butter and emulsifying wax help to stabilize the chocolate bath bombs, so they don’t fall apart and hold together when pressed.
Shea butter has a higher melting point than mango butter which may be an advantage if you live in a warmer climate where the bombs stay hard and do not melt fast.
Cocoa powder in at home bath bombs
The best cocoa powder you can use for this project is made from raw cocoa beans thus not processed.
You better buy natural cocoa beans or cocoa nibs that you can crush into powder. The ordinary cocoa powder that you buy in the supermarket is heavily processed and doesn’t contain valuable ingredients for skin.
Cocoa powder together with ground coffee contains a high level of caffeine that is very useful in firming the skin and reducing puffiness. They contain antioxidant phenol that helps to promote healthier skin tone as well as brighter skin.
Raw cocoa powder contains flavanols that enhance elasticity and hydration. They also help to soften, clear, and detoxify your skin.

Emulsifying wax
Emulsifying wax is an emulsifier that makes oils and water mix together thus unable oil to float on the water surface. It also gives the bath bomb some extra skin properties as well as makes the bath bomb harder, which is a good thing.
Baking soda
While most of us use baking soda in baking or cleaning baking soda have its place in skincare. It helps with yeast infections, eczema, or nail infections. When added to a bath baking soda relieves irritation, infections and helps detox the body.
Citric acid
Promotes exfoliation thus helping to get rid of dead cells. Citric acid also contributes to the brighter and softer skin reducing the appearance of fine lines.
Cornstarch
The fizziness of bath bombs comes from the chemical reactions that happen when baking soda and citric acid come into contact with water. One of the end products is a gas (CO2), that forms small bubbles in the bathwater, creating a fizz. The role of cornstarch is to slow down the reaction allowing fizziness to last for several minutes instead of seconds.
Chocolate extract you can alternate with coffee extract or other essential oils
shea butter bath bomb recipe
First step
Measure all dry ingredients citric acid, baking soda, cornstarch, cocoa powder and ground coffee in a large bowl and mix it well. Use a sieve to remove any possible lumps.

Second step
Gently melt shea butter and emulsifying wax NF in a double boiler

Third step
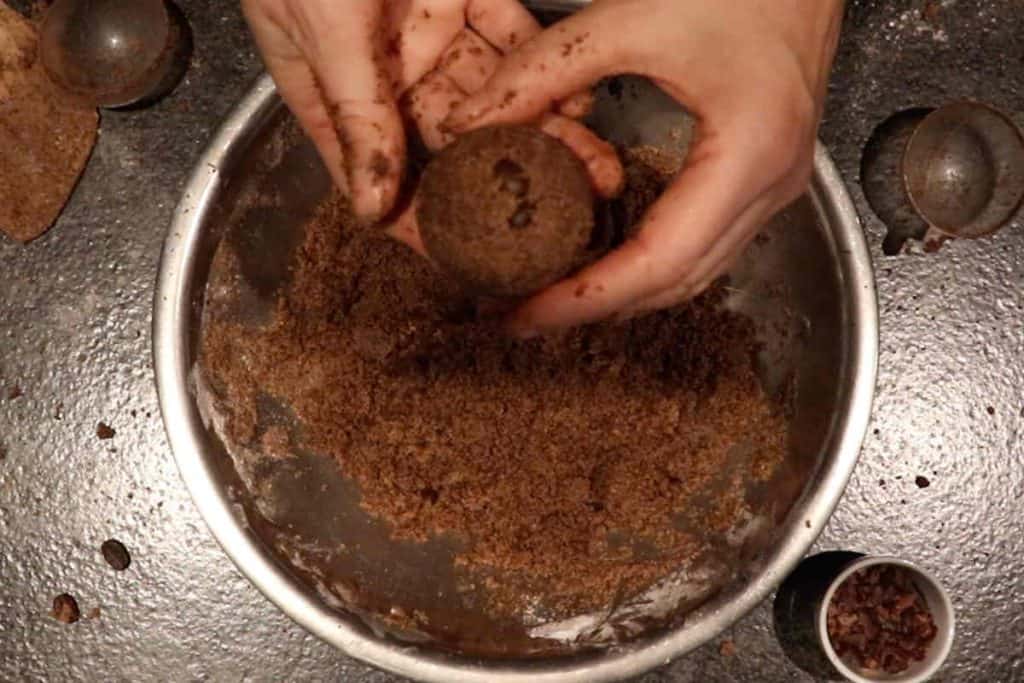
Slowly mix the wet and dry ingredients together to minimize a fizz. Make sure the melted shea butter and wax are fully combined. You may want to consider using your hands to make a homogeneous mixture. Mix it well until the mixture holds together when pressed into a ball.

Fourth step
Spritz the molds with witch hazel mixed with ethanol and fill the bath bomb molds with the mixture allowing them to sit for an hour.

Fifth step
Remove the shea butter bath bombs carefully from the molds and wrap them for later.
Sixth step
Let them dry for at least 24 hours before you use them. Handle them carefully as they are fragile at this point.
Benefits of bath bombs
Papmer your skin
These chocolate bath bombs with shea butter are beneficial for all skin types especially for people with dry and sensitive skin. These shea butter bath bombs will cleanse, soothe and pamper your skin.
vegan and natural
Shea butter in bath bombs acts as a natural moisturizer and doesn’t leave your skin dry as store-bought bath bombs that are packed with chemicals. This vegan bath bomb recipe doesn’t contain any harsh chemicals or irritants thus is suitable even for kids.
Create special athmospere
These DIY bath bombs with shea butter create a special atmosphere with chocolate scents that delight your senses.
Since we didn’t use any artificial colorant in this recipe it is very unlikely. Chocolate powder, however, may leave some stains but since it is a natural color it should be easy to remove. Good practice however is to rinse the tube right away after the water has drained thus not allowing the water to sit and stay.
These Shea butter bath bombs are made of natural ingredients that carry many benefits for the skin. In addition, shea butter is a moisturizer that keeps your skin nourished and not dried after the bath. Thus no need to shower afterward.
These shea butter bath bombs are even safe for kids to use as they don’t contain any harsh chemicals and zero essential oils. These bath bombs look and smell so chocolate lovely thus be careful with kids not to eat them.
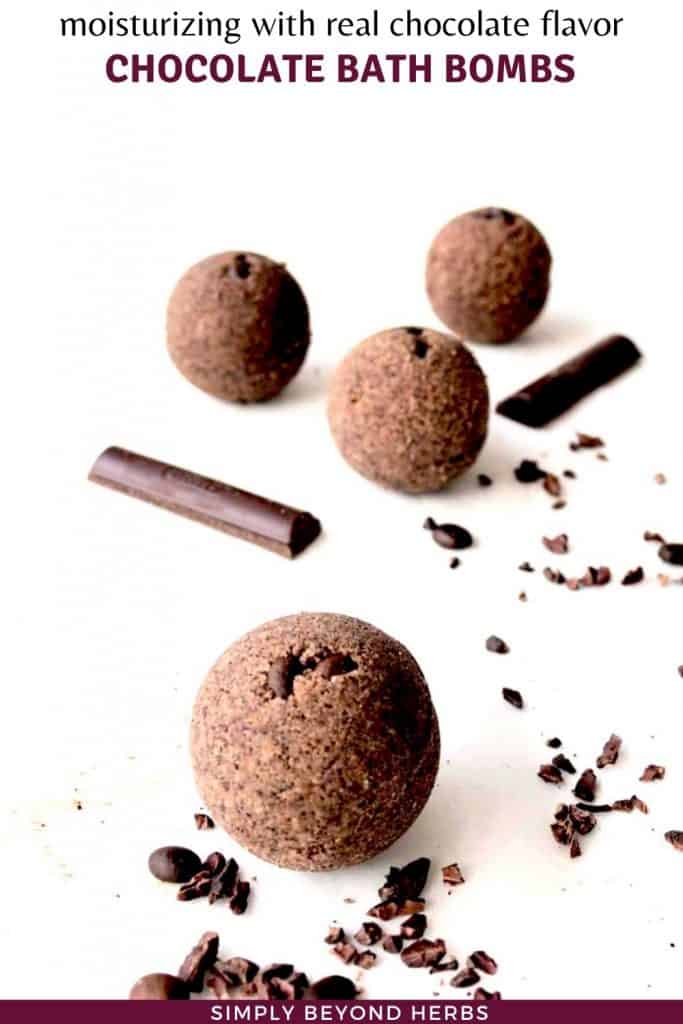
Chocolate bath bombs with shea butter

These shea butter bath bombs are moisturizing and easy to absorb that once you try them, you probably won't want to share them with anybody
Materials
- 1/2 cup (64g, 2.25 oz) citric acid
- 1 cup (128 g, 4.5 oz) baking soda
- 1/4 cup (32 g, 1.12 oz) cornstarch
- ⅛ cup (28 g, 0.6 oz) shea butter
- 1/4 cup (32 g, 1.12 oz) Cacao Powder
- 1/4 cup (32 g, 1.12 oz) Ground Coffee
- 16 g emulsifying wax NF
- 10-15 drops cocoa essence
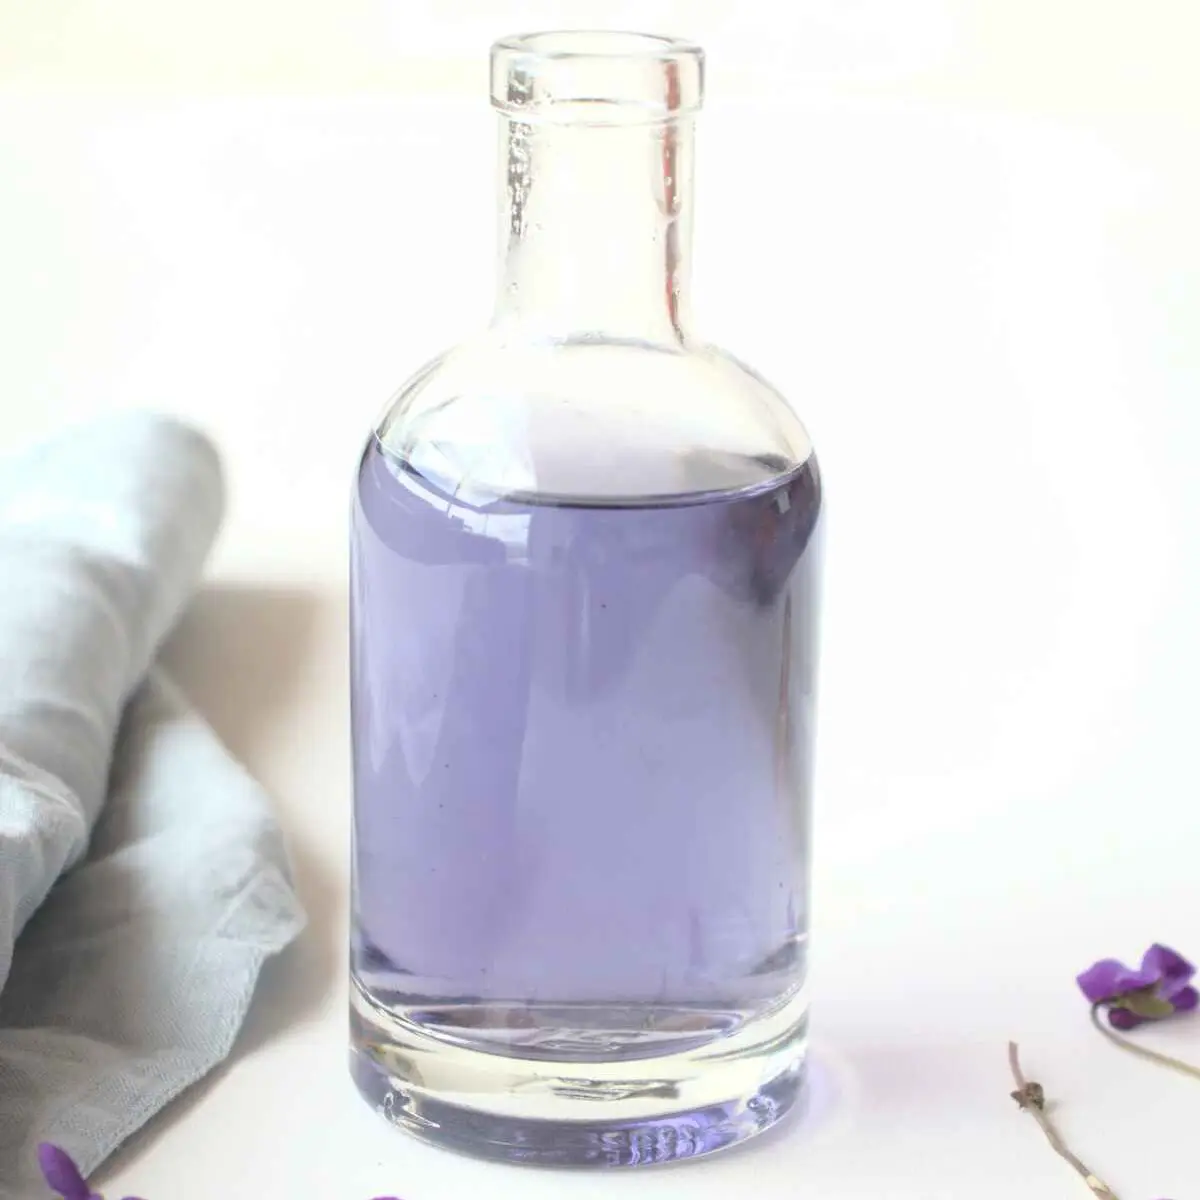
- 1/2 teaspoon of 90% ethanol mixed with 1 teaspoon of witch hazel
Tools
Instructions
- Measure all dry ingredients citric acid, baking soda, cornstarch, cocoa powder, and ground coffee in a large bowl and mix it well. Use a sieve to remove any possible lumps.
- Gently melt shea butter and emulsifying wax NF in a double boiler
- Slowly mix the wet and dry ingredients together to minimize a fizz. Make sure the melted shea butter and wax are fully combined. You may want to consider using your hands to make a homogeneous mixture. Mix it well until the mixture holds together when pressed into a ball.
- Spritz with witch hazel and fill the bath bomb molds with the mixture allowing to sit for an hour.
- Remove the shea butter bath bombs carefully from the molds and wrap them for later. Let them dry for at least 24 hours before you use them.
- Handle them carefully as they are fragile at this point.
Recommended Products
As an Amazon Associate and member of other affiliate programs, I earn from qualifying purchases.
-
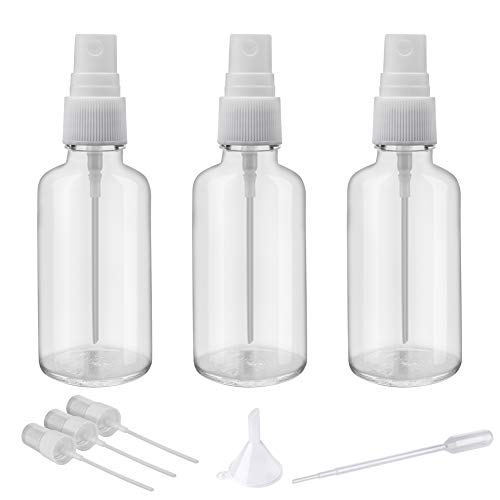
 2oz Clear Glass Spray Bottles for Essential Oils, Small Spray Bottle with Plastic Sprayer - Set of 3
 -
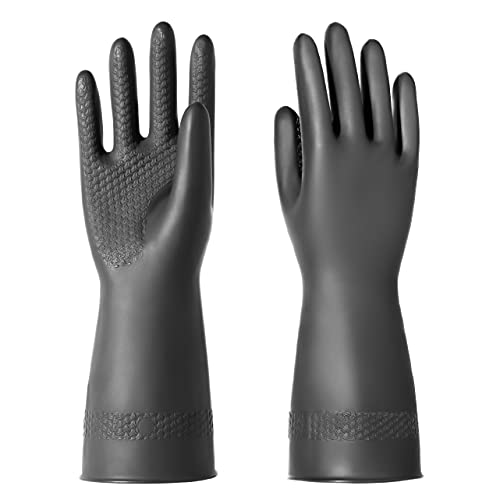
ROYAKI Chemical Resistant Gloves, Work Heavy Duty Industrial Rubber Gloves,12.2",Black 1 Pair Size Medium
-
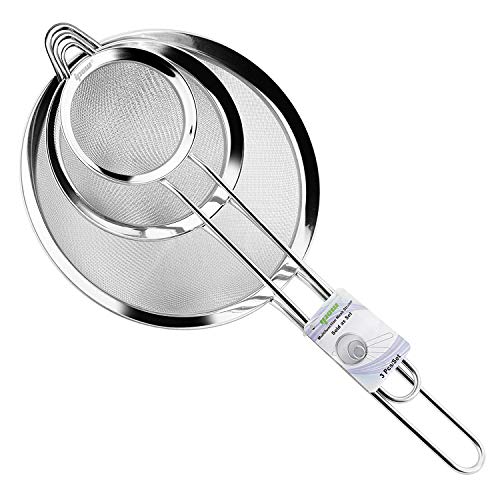
IPOW Set of 3 Stainless Steel Fine Mesh Strainer, Colander Sieve Sifters with Long Handle for Kitchen Food, Small Medium Large Size for Tea Coffee Powder Fry Juice Rice Vegetable Fruit Etc
-
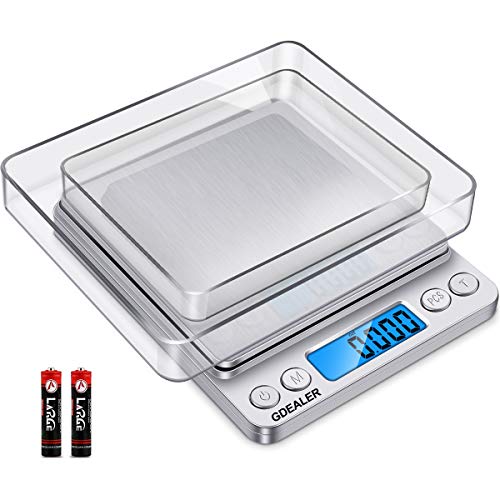
GDEALER Food Scale, 0.001oz Precise Digital Kitchen Scale Gram Scales Weight Food Coffee Scale Digital Scales for Cooking Baking Stainless Steel Back-lit LCD Display Pocket Small Scale, Silver
-
Pyrex Glass Mixing Bowl Set (3-Piece Set, Nesting, Microwave and Dishwasher Safe)
-
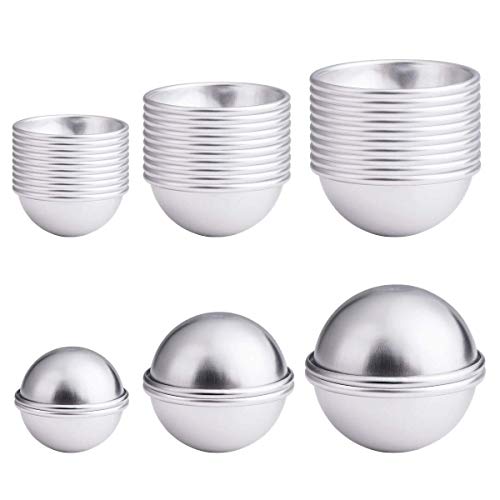
30PCS- Bath Bomb Mold Kit, 15 Set 3 Size Mold & Bath Bombs Press for DIY Making Supplies