
Fermenting honey sounds like something that should go wrong. But when it works, it creates one of the most complex, flavorful ingredients you can make at home.
I still remember the first jar I made: garlic slowly sinking, bubbles forming after day three, and that first taste – sweet, sharp, almost alive.
In this guide, I’ll show you exactly how honey fermentation works (and why it sometimes fails), plus the best ingredient combinations, safety tips, and real examples from my own batches.

What is fermented honey (quick answer)?
Fermented honey is raw honey that has absorbed moisture (from garlic, fruit, or water), activating natural yeasts and bacteria and starting a gentle fermentation process.
- Used for culinary recipes, wellness, and natural remedies
- Made with raw or really raw honey, not pasteurized
- Uses natural yeasts and bacteria already present in the honey
- Creates bubbles, a slightly tangy flavor, and a thinner syrup
- Usually not alcoholic (unless too much water turns it into mead)
- Commonly made as fermented honey garlic (garlic honey) or with fruit

Fermented honey is becoming increasingly popular among chefs looking for new ways to add flavor to their dishes. While it seems like a new trend, it has been used as a sweetener for thousands of years. It is one of the healthiest sweeteners available, with a unique taste in sauces, marinades, or even as a condiment for cheese plates. It also makes an excellent ingredient for this honey carrot soup.
Table of Contents
- What is fermented honey (quick answer)?
- Fermentation Timeline
- How Honey Fermentation Actually Works – Simple Science Explained
- Honey Fermentation vs. Lacto-Fermentation: What’s the Difference?
- Ingredients
- Raw honey
- Fruits or veggies (optional)
- What Most People Get Wrong When Fermenting Honey
- Troubleshooting: Why Your Honey Didn’t Ferment
- How to make honey fermented fruits or veggies
- Is Fermented Honey Safe?
- Fermented Honey Checklist
- Long-Term storage
- What To Do With Fermented Honey?
- Get Creative with Honey Ferments
- Fermented Honey Garlic
- Cranberries + honey
- Ginger + lemon + honey
- Apples + cinnamon + honey
- Get More Creative with:
- FAQ
Fermentation Timeline
| Timeframe | What Happens | What You Should Do |
|---|---|---|
| Day 0 | Ingredients are mixed and submerged in raw honey | Fill the jar, leave space at the top, stir gently |
| Day 1–2 | Little to no visible activity | Shake or flip the jar to coat ingredients |
| Day 3–5 | First bubbles appear, honey begins to loosen | Start burping the jar daily |
| Week 1–2 | Active fermentation, visible bubbles and slight froth | Flip or stir daily, keep ingredients submerged |
| Week 3–4 | Fermentation slows, flavors deepen, ingredients sink | Taste and adjust, reduce burping |
| Month 1+ | Fully fermented, thicker flavor, darker color | Store in a cool, dark place or strain for long-term storage |
How Honey Fermentation Actually Works – Simple Science Explained
The magic of fermented honey comes from its simple ingredients. Raw, unpasteurized honey contains naturally occurring enzymes and yeast. When its moisture content reaches 19-20%, fermentation begins, just like making mead.
Although the natural amount of water in honey is around 16-17%, its sugars draw out moisture from ingredients like fruits or veggies, helping reach the 20% needed for fermentation. If you are fermenting dried fruits or dates and figs, you can add a little extra water.
Moisture and warmth are two factors that help to kick-start the process of forming bubbles and transforming honey into a frothy concoction that can sometimes overflow the jar. Unlike other fermented items like wine and beer, honey does not automatically become alcoholic. However, if the moisture content is greater, it turns into mead.
Should You Add Water or Not?
IF using fresh fruit → No water needed (fruit releases moisture)
Using dried fruit → Add 1–2 tbsp water
IF using garlic → No water, but shake daily
Honey is thick + no bubbles after 5 days → Add 1 tsp water or ACV
Honey Fermentation vs. Lacto-Fermentation: What’s the Difference?
Lacto-fermentation uses lactic acid bacteria to convert sugars into lactic acid. This is the process behind foods like yogurt, sauerkraut, sourdough, and kimchi.
Fermented honey works differently. It relies on natural yeasts and bacteria present in raw honey. When you add moisture, these microorganisms begin the fermentation process, creating bubbles and a mild tangy flavor.
Unlike lacto-fermented foods, fermented honey does not produce lactic acid and is usually less sour. Instead, it develops a sweeter, more complex flavor – especially in recipes like fermented honey garlic.

Ingredients
Raw honey
To successfully ferment honey, you have to use raw honey, not pasteurized. It is quite challenging nowadays to find it as most of the store-bought honey is heat treated to kill off wild yeast and unwanted bacteria. I use local honey from our beekeeper neighbor.
In addition, raw honey contains pollen, which can help allergy sufferers build up a tolerance over time.
Fruits or veggies (optional)
Honey will ferment on its own if it has a high enough moisture content (around 19-20%). When you add water in warm temperatures, the natural yeast and enzymes in honey start to consume sugars in the honey and kickstart the process.
However, adding fruits or vegetables enhances flavor, adds moisture, and makes the process more fun.
You can choose from cranberries, elderberries, ginger, lemon, or garlic, it’s up to you! Even fruits like apples or quince will work. Just be sure to select fresh produce, as it plays a key role in fermentation. I would also opt for organic produce, as it is less likely to have been treated with chemicals that might reduce its natural yeast content essential for fermentation.

What Most People Get Wrong When Fermenting Honey
Fermenting honey sounds simple – and it is. However, a few small mistakes can completely change the outcome. I’ve made most of them myself, and they’re easy to avoid once you know what to look for.
Using the wrong honey (why nothing happens)
This is the most common reason fermentation fails completely.
If your honey has been pasteurized or ultra-filtered, it may look perfect, but it’s essentially “inactive.” You can wait days or even weeks and still see no bubbles at all.
If that happens, it’s not your method—it’s the honey.
Not enough moisture
Honey on its own is too dry to ferment (usually around 16–17% water). Fermentation only starts when moisture reaches around 19–20%.
If you’re using ingredients that don’t release much liquid (like dried fruit), fermentation may never begin unless you add a small amount of water.
Filling the jar too much
This is one of the easiest mistakes – and the messiest.
As fermentation starts, bubbles form and the honey expands. If your jar is too full, it can overflow quickly. Leave some space at the top and place the jar on a plate just in case.
Not submerging the ingredients
Anything exposed to air can develop mold.
Fruits and vegetables tend to float, especially at the beginning. If they’re not fully coated in honey, you increase the risk of spoilage. That’s why flipping or shaking the jar daily matters.
Forgetting to burp the jar
During the first couple of weeks, fermentation produces gas.
If you don’t release that pressure regularly, the lid can build up pressure (or even leak). A quick daily “burp” is enough.
Expecting instant results
Fermentation takes time.
You might not see bubbles for a few days, especially in cooler environments. That doesn’t mean it’s not working. Some of my best batches took a full week before showing any signs of activity.
Troubleshooting: Why Your Honey Didn’t Ferment
No bubbles after 1 week
→ Honey may be too dry or not truly raw. Try adding 1 teaspoon of water or using really raw hon
Mold on top
→ Ingredients were not fully submerged. Discard the batch and start fresh
Alcohol smell
→ Too much water added. The ferment is turning into mead (still usable, but different).
Overflow mess
→ Jar was too full. Always leave headspace for bubbling.
How to make honey fermented fruits or veggies
First step – prepare your chosen fruits (or vegetable).
Use soapy water or a dishwasher to sterilize the jars before filling them with your chosen fruits or veggies so it is 3/4 full.
Wash them and slice them thinly before adding them to the jar

Second step – fill the jar with honey.
Pour the honey over the ingredients so they are fully submerged in the honey. Use a wooden spoon to move them around so the ingredients are fully coated and the honey can reach the bottom of the jar. You can also drizzle some honey at the bottom of the jar.
Bare in mind that once bubbles start to form in the honey, it turns into a frothy concoction, and honey can spill over the jar. Therefore, don’t fill a jar to the top; give the honey a breathing space. I put a plate underneath my honey mixture so that the liquid can leak out.
Third step – allow the fermentation process to begin.
Cover with a lid and place in a cool, dark spot at room temperature. Since the fruits naturally float to the top of the honey, shake the jar daily to ensure they are coated in honey.
You will need to burp daily during the first two weeks of fermentation. First, loosen the lid on the jar so the gases can escape. Flip the jar upside down once a day. Before flipping, ensure you’ve fastened the lid tightly. Once you flip it back, loosen it once more for gasses to escape while fermenting. After a few days, you will see the first signs of fermentation. Bubbles will appear on top of the honey, and burping will gradually slow down. After the first few weeks, you will notice the produce sinks below the honey (and is noticeably darker), and the need to stir or turn the jar is essentially over.
Note: Some people speed up the fermentation process by adding a teaspoon of organic apple cider vinegar.
After several weeks to a month, you can enjoy honey fermented food. However, it tastes even better after a month!

Fourth step – Store the ferment.
Once the honey has achieved its desired level of fermentation, store it securely in an airtight jar, as oxygen exposure can damage the fruits. Place the jar in a dark and cool place with no direct sunlight.
Over time, honey has thinned and the fermentation process makes the honey darker, with some reduction in size among the fruits or veggies. Nevertheless, honey ferment preserves its delightful taste and is packed with probiotics.
Eating fermented honey may boost the immune system, improve digestion or lower your cholesterol.

Is Fermented Honey Safe?
- Always keep ingredients fully submerged
- Use clean jars to prevent contamination
- Avoid giving fermented honey to infants (risk of botulism)
- If you see mold or smell something unpleasant, discard immediately
Fermented Honey Checklist
| Stage | What to Do | Why It Matters |
|---|---|---|
| Before you start | Use raw, unpasteurized honey | Needed for natural yeasts and proper fermentation |
| Sterilize the jar | Prevents unwanted bacteria or mold | |
| Choose fresh or properly dried ingredients | Ensures good flavor and safe fermentation | |
| During fermentation | Burp daily (first 2 weeks) | Releases gas and prevents pressure buildup |
| Shake or flip the jar | Keeps ingredients coated in honey | |
| Keep ingredients submerged | Prevents mold from forming | |
| After fermentation | Taste before storing | Check flavor and fermentation level |
| Store in a cool, dark place | Slows fermentation and preserves quality | |
| Strain (optional) for long-term storage | Improves shelf stability |
Long-Term storage
For more shelf-stable jar of honey and to reduce the risk of mold and fermentation issues, strain the veggies or fruits from the honey after 3-4 weeks.
What To Do With Fermented Honey?
With its taste and ideal consistency, fermented honey can be used in many ways. It is best to stay away from heating the honey, though, as high temperatures can destroy many of the beneficial bacteria.
in cooking
Use it wherever you use honey, like a condiment, marinade or this honey mustard dressing. It is also great in vinaigrette or glaze for meats, cheese or seafood. Spread it on sandwiches or toast. Honey can also be used as a natural sugar alternative in the form of Honey syrup. I love to use it as a sweetener in lemonades, cocktails, smoothies, or jams or eat it with natural yogurt, muesli or grilled pears.

as natural remedy
Fermented honey has traditionally been used as a natural remedy for sore throat, colds, and flu season. This natural remedy possesses anti-inflammatory and antimicrobial properties that help to boost your immune system.
While fermented honey isn’t as rich in probiotics as sauerkraut or yogurt, it still contributes beneficial compounds that may support gut health and digestion.
I enjoy spoonfuls of this honey or preparing honey cough drops or sore throat sprays.
Beauty.
You can use honey ferment in facial masks for acne and other skin conditions; add it to soap bars or creams.
Get Creative with Honey Ferments
I’ve tested several of these, and garlic ferments the fastest (you’ll see bubbles within 2–3 days), while cranberries take longer but develop a deeper, almost wine-like flavor.
To create unique taste combinations, you can use honey to ferment fruits, vegetables, and grains. Some popular honey ferments include:
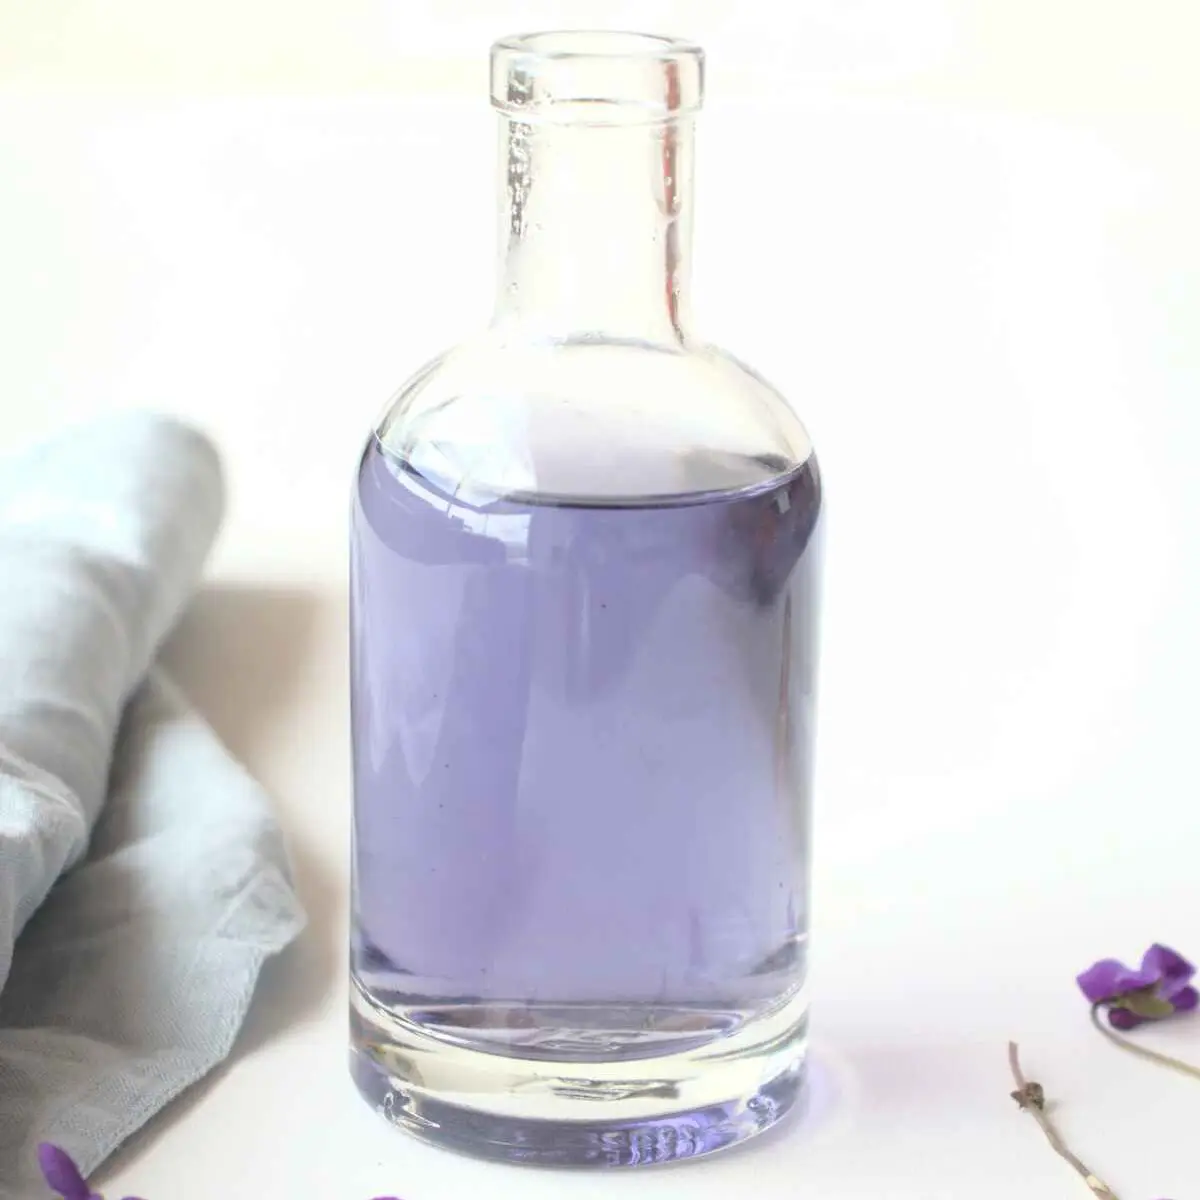
Fermented Honey Garlic
a potent, slightly spicy syrup with deep savory notes, traditionally used for immune support and cold season remedies.
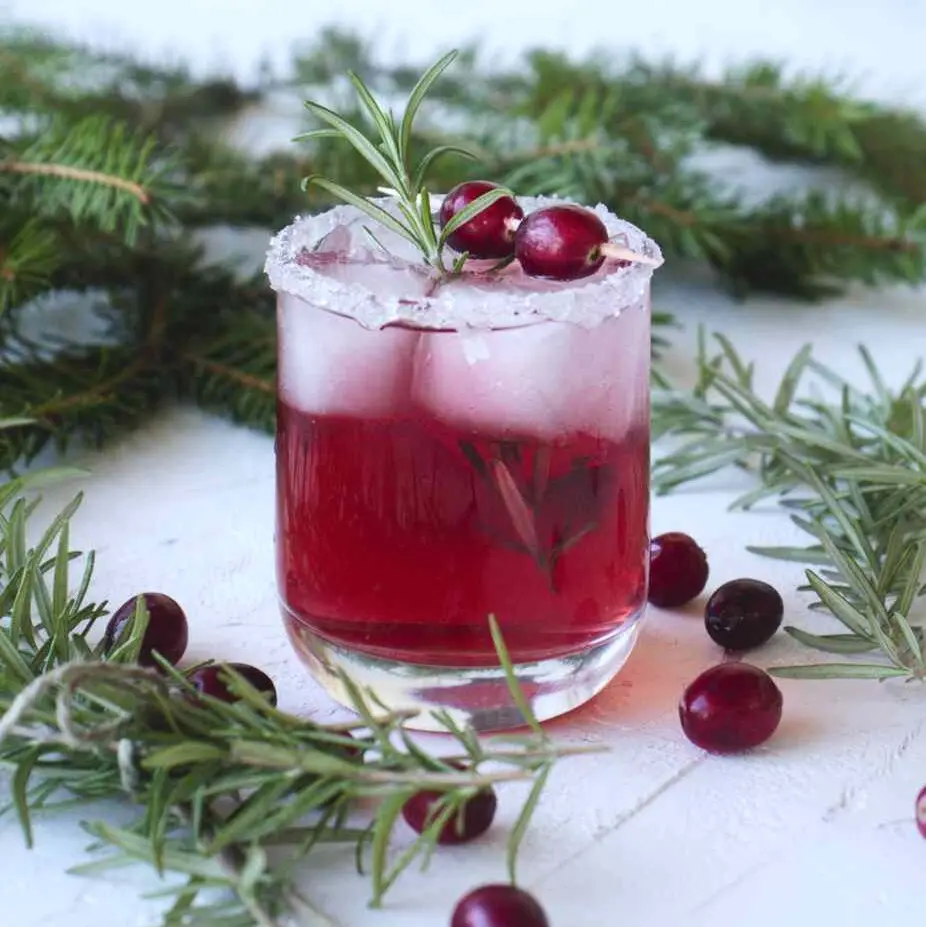
Cranberries + honey
bright, tart, and slightly effervescent, perfect for cheese boards or adding a festive touch to winter dishes.
Ginger + lemon + honey
warm, zesty, and gently spicy, often used as a soothing blend for digestion and sore throats.
Apples + cinnamon + honey
soft, naturally sweet with a hint of spice, creating a dessert-like ferment that pairs beautifully with yogurt or porridge.
Get More Creative with:
Honey Kombucha.
It is a fermented tea made by adding honey to tea and a kombucha culture to the mixture. The result is a sweet, fizzy, and slightly sour drink.
Honey Mead.
This ancient alcoholic drink ferments honey, water, and yeast. Since the moisture content is higher, honey turns into mead, also known as honey-wine. The result is a sweet, fruity drink that one one can flavor with spices or fruits.

Honey-Fermented Fruits.
You can ferment fruits like cranberries, grapes, and apricots with honey to create a sweet and tangy condiment and use it on cheese plates, in salads, or as a topping for ice cream.
Honey-Fermented Vegetables.
You can use honey to ferment vegetables like garlic cloves, carrots, cucumbers, and beets to create a sweet and sour pickled vegetable.
Honey-Fermented Grains.
You can use honey to ferment grains like oats, barley, and wheat to create a sweet and tangy cereal or granola and eat it for breakfast or as a snack.
FAQ
Is fermented honey safe?
Yes, if you submerge all ingredients, then no mold forms.
Can fermented honey go bad?
Rarely, but mold or foul smell = discard.
Does fermented honey contain alcohol?
Natural yeasts in fermented honey produce small amounts of alcohol as they break down sugars, but the amount is usually minimal. Adding too much water can turn it into mead and make it noticeably alcoholic.
How long does it last?
Months to years if stored properly.

Fermenting Honey: How it Works and Why You’ll Love It

Learn how to ferment honey to transform raw honey into a deliciously tangy sweetener packed with health benefits and perfect for preserving fruits or veggies.
Ingredients
- 1 cup fruits (or vegetable)
- 1 cup raw honey
Instructions
- Use soapy water or a dishwasher to sterilize the jars before filling them with your chosen fruits or veggies so it is 3/4 full. Wash them and slice them thinly before adding them to the jar.
- Pour the honey over the ingredients so they are fully submerged in the honey. Use a wooden spoon to gently move them around so the ingredients are fully coated and the honey can reach the bottom of the jar. You can also drizzle some honey at the bottom of the jar. Remember that once bubbles start to form in the honey, it turns into a frothy concoction, and honey can spill over the jar. Therefore don’t fill a jar to the top; give the honey a breathing space. I put a plate underneath my honey mixture so liquid can leak out.
- Cover with a lid and place in a cool dark spot at room temperature. Since the fruits naturally floats to the top of honey, shake the jar daily to ensure they are coated in honey. You will need to burp daily during the first two weeks of fermentation. First, loosen the lid on the jar so the gases can escape. Flip the jar once a day upside down to ensure all ingredients are covered with honey. Before flipping, ensure you’ve fastened the lid tightly. Once you flip it back, loosen it once more for gasses to escape while fermenting. After a few days, you will see the first signs of fermentation. Bubbles will appear on top of the honey, and burping will gradually slow down. After the first few weeks, you will notice the produce now sinks below the honey (and is noticeably darker) and the need to stir or turn the jar is essentially over. After several weeks to a month, you can start enjoying the honey fermented food. However, it tastes even better after a month!
- Once the honey has achieved its desired level of fermentation, store it securely in an airtight jar, as oxygen exposure can damage the fruits. Place the jar in a dark and cool place with no direct sunlight. Over time, honey has thinned and the fermentation process makes the honey darker, with some reduction in size among the fruits or veggies. Nevertheless, honey ferment preserves its delightful taste and is packed with probiotics. Eating fermented honey may boost the immune system, improve digestion or lower your cholesterol.
Notes
Note: Some people speed up the fermentation process by adding a teaspoon of organic apple cider vinegar.
Recommended Products
As an Amazon Associate and member of other affiliate programs, I earn from qualifying purchases.

Nutrition Information:
Yield:
8Serving Size:
1Amount Per Serving: Calories: 141Total Fat: 0gSaturated Fat: 0gTrans Fat: 0gUnsaturated Fat: 0gCholesterol: 0mgSodium: 2mgCarbohydrates: 38gFiber: 0gSugar: 37gProtein: 0g


Can’t wait to see how this turns out! Just made a batch — fingers crossed!
This is so interesting and a must-try. We have a lot of local honey that is raw and I have plenty of cranberries. I can see so many uses for this honey and I can’t wait to taste it.
I had no idea how to ferment honey but this was such a comprehensive explanation! I can’t wait to try it!
Was looking for a recipe to ferment honey so I can use it with garlic and chili flakes and this just hit the mark! Will be making again for sure.
This honey was absolutely delicious on top of pizza! Thank you for the easy to follow recipe.
How long will the honey last after the fruit is strained out? Also, how long will the fermented fruit or veggies last? Thank you for this wonderful recipe.
The fermented honey will last for many months (even a year or more) as long as it’s kept in a clean jar with a tight lid at room temperature, honey is naturally preservative. The strained fruit or veggies you better enjoy sooner. They’ll usually keep in the fridge for about 2–3 weeks, though flavor and texture are best in the first few days.